WordPress is not just a blogging platform. With Custom Post Types, you can turn it into a portfolio showcase, a real estate listings site, a job board, a recipe database, or a client testimonials system — all without a single third-party page builder.
If you searched for how to do this, you probably found Custom Post Type UI (CPT UI) — a plugin with over 1 million active installs. It gives you a GUI to register post types by clicking buttons. It works. But it is a plugin solving a problem that WordPress already solves natively with a single function call.
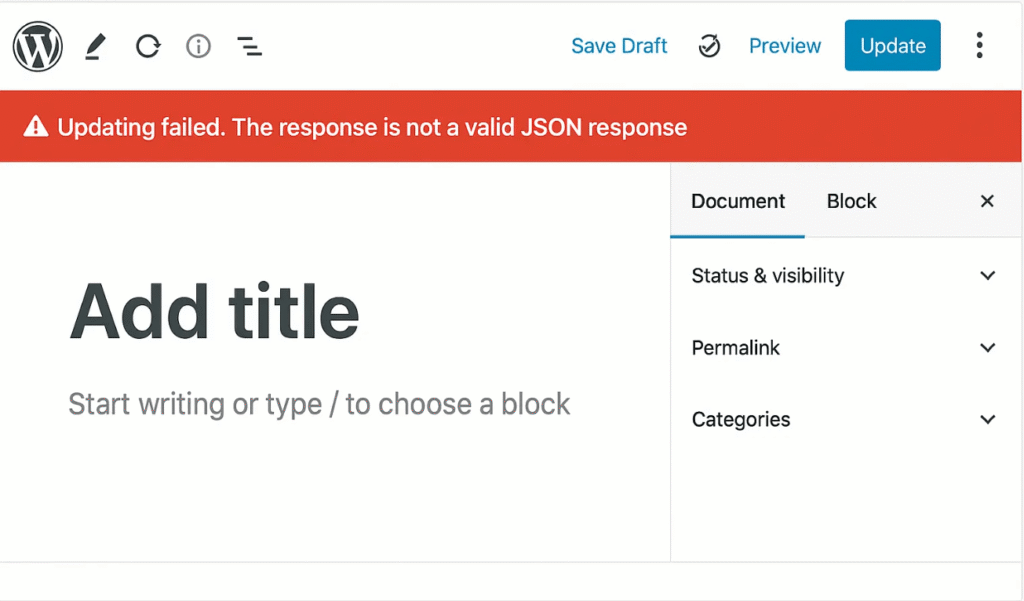
Installing CPT UI means: one more plugin to update, one more potential security surface, database rows for settings that could just be code, and — critically — if CPT UI is ever deactivated or deleted, your post types vanish from the dashboard (the data stays in the database, but WordPress can no longer render it). Your client opens the site and their 200 portfolio projects have disappeared from the menu.
Code-registered post types have none of these problems. They load directly from your theme or plugin on every request. They cannot accidentally be deactivated. They are portable — the same file works on any WordPress installation.
This guide covers everything: the full argument reference, four real-world CPT examples, custom taxonomies, and how to query and display your content on the frontend.
The Full register_post_type() Argument Reference
Before the examples, here is what every important argument does. Most tutorials give you a snippet to copy without explaining the knobs — this table is the reference I wish I had when I started.
| Argument | Default | What it does |
|---|---|---|
| public | false | Makes the CPT visible on the frontend and in the admin. Set to true for almost all use cases. |
| has_archive | false | Creates an archive page at /portfolio/. Set to true or a custom string for the archive slug. |
| rewrite | true | Controls the URL slug. Pass array('slug' => 'work') to set a custom slug. |
| supports | title, editor | Which meta boxes appear in the editor. Options: title, editor, thumbnail, excerpt, custom-fields, comments, revisions, author. |
| show_in_rest | false | Set to true to enable the Gutenberg block editor. Also required for REST API access. |
| menu_icon | posts icon | Admin sidebar icon. Use any slug from WordPress Dashicons, e.g. dashicons-portfolio. |
| menu_position | null (bottom) | Position in the admin sidebar. 5 = below Posts, 10 = below Media, 20 = below Pages. |
| capability_type | post | Base for capability checks. Use 'post' for standard access or a custom string for fine-grained role control. |
| hierarchical | false | Set to true to allow parent/child relationships (like Pages). false behaves like Posts. |
| font-family:monospace;exclude_from_search | false | Set to true to hide items from WordPress search results. |
Example 1: Portfolio CPT
The most common use case — a portfolio of projects or case studies, separate from the blog. The URL structure will be yoursite.com/portfolio/project-name/.
add_action( 'init', 'musa_register_portfolio_cpt' );

function musa_register_portfolio_cpt() {
    $labels = array(
        'name'               => _x( 'Portfolio', 'post type general name', 'textdomain' ),
        'singular_name'      => _x( 'Project', 'post type singular name', 'textdomain' ),
        'add_new_item'       => __( 'Add New Project', 'textdomain' ),
        'edit_item'          => __( 'Edit Project', 'textdomain' ),
        'all_items'          => __( 'All Projects', 'textdomain' ),
        'not_found'          => __( 'No projects found', 'textdomain' ),
        'menu_name'          => __( 'Portfolio', 'textdomain' ),
    );

    $args = array(
        'labels'        => $labels,
        'public'        => true,
        'has_archive'   => true,
        'menu_position' => 5,
        'menu_icon'     => 'dashicons-portfolio',
        'supports'      => array( 'title', 'editor', 'thumbnail', 'excerpt', 'custom-fields' ),
        'rewrite'       => array( 'slug' => 'portfolio' ),
        'show_in_rest'  => true, // Enables Gutenberg
    );

    register_post_type( 'portfolio', $args );
}
Example 2: Team Members CPT
Perfect for agency sites and corporate sites that need an editable “Our Team” section. Uses hierarchical => false since team members do not have parent/child relationships, and disables comments since you do not want people commenting on staff profiles.
add_action( 'init', 'musa_register_team_cpt' );

function musa_register_team_cpt() {
    $labels = array(
        'name'          => __( 'Team', 'textdomain' ),
        'singular_name' => __( 'Team Member', 'textdomain' ),
        'add_new_item'  => __( 'Add New Team Member', 'textdomain' ),
        'edit_item'     => __( 'Edit Team Member', 'textdomain' ),
        'all_items'     => __( 'All Team Members', 'textdomain' ),
        'not_found'     => __( 'No team members found', 'textdomain' ),
        'menu_name'     => __( 'Team', 'textdomain' ),
    );

    $args = array(
        'labels'        => $labels,
        'public'        => true,
        'has_archive'   => false,     // No archive page needed — displayed via shortcode or block
        'menu_position' => 6,
        'menu_icon'     => 'dashicons-groups',
        'supports'      => array( 'title', 'editor', 'thumbnail', 'custom-fields' ),
        'rewrite'       => array( 'slug' => 'team' ),
        'show_in_rest'  => true,
    );

    register_post_type( 'team_member', $args );
}
Example 3: Testimonials CPT
Testimonials need to be editable from the dashboard without touching page templates. This registers a lean CPT — no editor body needed (the testimonial text goes in a custom field), just a title for the client name and a thumbnail for their photo.
add_action( 'init', 'musa_register_testimonials_cpt' );

function musa_register_testimonials_cpt() {
    $labels = array(
        'name'          => __( 'Testimonials', 'textdomain' ),
        'singular_name' => __( 'Testimonial', 'textdomain' ),
        'add_new_item'  => __( 'Add New Testimonial', 'textdomain' ),
        'edit_item'     => __( 'Edit Testimonial', 'textdomain' ),
        'all_items'     => __( 'All Testimonials', 'textdomain' ),
        'menu_name'     => __( 'Testimonials', 'textdomain' ),
    );

    $args = array(
        'labels'              => $labels,
        'public'              => true,
        'publicly_queryable'  => false,  // Individual testimonial pages are not needed
        'show_ui'             => true,   // But the admin UI IS needed
        'has_archive'         => false,
        'menu_position'       => 7,
        'menu_icon'           => 'dashicons-format-quote',
        'supports'            => array( 'title', 'thumbnail', 'custom-fields' ),
        'show_in_rest'        => true,
    );

    register_post_type( 'testimonial', $args );
}
Note the use of 'publicly_queryable' => false combined with 'show_ui' => true. This is the professional pattern for content that should be manageable in the admin but does not need its own public URL. It prevents Google from indexing individual /testimonial/john-smith/ pages that add no SEO value.
Example 4: Services CPT
For agencies and consultants whose “Services” page content needs to be dynamic. Each service gets its own editable entry — title, description, icon, and pricing can all be set per-service without touching page templates.
add_action( 'init', 'musa_register_services_cpt' );

function musa_register_services_cpt() {
    $labels = array(
        'name'          => __( 'Services', 'textdomain' ),
        'singular_name' => __( 'Service', 'textdomain' ),
        'add_new_item'  => __( 'Add New Service', 'textdomain' ),
        'edit_item'     => __( 'Edit Service', 'textdomain' ),
        'all_items'     => __( 'All Services', 'textdomain' ),
        'menu_name'     => __( 'Services', 'textdomain' ),
    );

    $args = array(
        'labels'        => $labels,
        'public'        => true,
        'has_archive'   => true,
        'menu_position' => 8,
        'menu_icon'     => 'dashicons-admin-tools',
        'supports'      => array( 'title', 'editor', 'thumbnail', 'excerpt', 'custom-fields', 'revisions' ),
        'rewrite'       => array( 'slug' => 'services' ),
        'show_in_rest'  => true,
    );

    register_post_type( 'service', $args );
}
Adding Custom Taxonomies (The Missing Piece)
A Custom Post Type without Custom Taxonomies is like WordPress Posts without Categories and Tags. Every CPT tutorial that stops at register_post_type() is leaving out the part that makes content actually navigable.
For the Portfolio CPT, you almost certainly need a way to categorise projects — by industry, by service type, by technology stack. Here is how to register a “Project Type” taxonomy attached to the Portfolio CPT:
add_action( 'init', 'musa_register_portfolio_taxonomy' );

function musa_register_portfolio_taxonomy() {
    $labels = array(
        'name'              => _x( 'Project Types', 'taxonomy general name', 'textdomain' ),
        'singular_name'     => _x( 'Project Type', 'taxonomy singular name', 'textdomain' ),
        'all_items'         => __( 'All Project Types', 'textdomain' ),
        'edit_item'         => __( 'Edit Project Type', 'textdomain' ),
        'add_new_item'      => __( 'Add New Project Type', 'textdomain' ),
        'search_items'      => __( 'Search Project Types', 'textdomain' ),
        'not_found'         => __( 'No project types found', 'textdomain' ),
        'menu_name'         => __( 'Project Types', 'textdomain' ),
    );

    $args = array(
        'labels'            => $labels,
        'hierarchical'      => true,   // true = like Categories (parent/child); false = like Tags
        'public'            => true,
        'show_ui'           => true,
        'show_admin_column' => true,   // Shows the taxonomy as a column in the CPT list table
        'query_var'         => true,
        'rewrite'           => array( 'slug' => 'project-type' ),
        'show_in_rest'      => true,
    );

    // Attach to the 'portfolio' CPT registered above
    register_taxonomy( 'project_type', array( 'portfolio' ), $args );
}
After resaving Permalinks (Settings → Permalinks → Save Changes), you will see a “Project Types” submenu under Portfolio in the dashboard, and taxonomy archive pages at yoursite.com/project-type/branding/.
How to Query and Display CPT Content
The most common follow-up question after registering a CPT is: “How do I actually show these on a page?” The answer is WP_Query.
Basic CPT loop — display all portfolio projects
<?php
$portfolio_query = new WP_Query( array(
    'post_type'      => 'portfolio',
    'posts_per_page' => 12,
    'orderby'        => 'date',
    'order'          => 'DESC',
) );

if ( $portfolio_query->have_posts() ) :
    while ( $portfolio_query->have_posts() ) : $portfolio_query->the_post(); ?>
        <article class="portfolio-item">
            <a href="<?php the_permalink(); ?>">
                <?php if ( has_post_thumbnail() ) the_post_thumbnail( 'medium' ); ?>
                <h3><?php the_title(); ?></h3>
                <p><?php the_excerpt(); ?></p>
            </a>
        </article>
    <?php endwhile;
    wp_reset_postdata(); // Always reset after a custom query
else :
    echo '<p>No projects found.</p>';
endif;
?>
Filter by custom taxonomy term
<?php
// Show only projects tagged with the 'branding' project type
$filtered_query = new WP_Query( array(
    'post_type'      => 'portfolio',
    'posts_per_page' => 6,
    'tax_query'      => array(
        array(
            'taxonomy' => 'project_type',
            'field'    => 'slug',
            'terms'    => 'branding',
        ),
    ),
) );

if ( $filtered_query->have_posts() ) :
    while ( $filtered_query->have_posts() ) : $filtered_query->the_post();
        the_title( '<h3>', '</h3>' );
    endwhile;
    wp_reset_postdata();
endif;
?>
Migrating Away from CPT UI
If you are currently using CPT UI and want to switch to code, the process is straightforward. CPT UI has an “Export” feature under CPT UI → Tools → Get Code that generates the exact register_post_type() and register_taxonomy() function calls for your existing configuration. Copy that code into your child theme’s functions.php, resave Permalinks, then deactivate CPT UI and confirm everything still works. Your post data is stored in the database and is completely unaffected by this change.
Important: Do not deactivate CPT UI before adding your code-based registration. If CPT UI is deactivated first, WordPress can no longer recognise the post type and the admin menu entries disappear. The data remains in the database, but you need the post type registered (by code or plugin) to access it.
Where to Put This Code
There are two correct options:
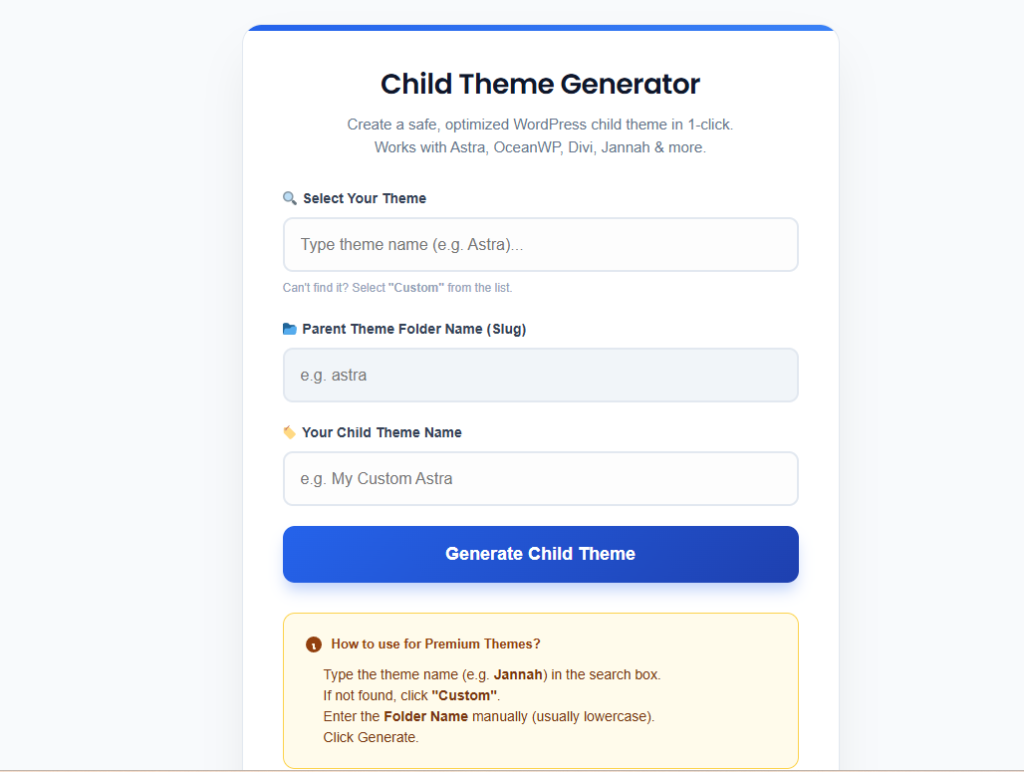
Option A — Child theme’s functions.php: Works well for site-specific post types that will always live on this site. If you do not have a child theme, create one first — adding code to a parent theme means it gets wiped on every theme update. You can also use the free child theme generator.
Option B — A custom plugin (recommended for client sites): Create a simple plugin file at /wp-content/plugins/my-site-cpts/my-site-cpts.php. This makes the post type truly theme-independent — if the client ever changes their theme, the CPT registration does not break. The plugin file is minimal:
<?php
/**
 * Plugin Name: My Site Custom Post Types
 * Description: Registers Portfolio, Team, and Testimonial CPTs for this site.
 * Version: 1.0
 * Author: Ahmod Musa
 */

// Paste all your register_post_type() functions here
require_once plugin_dir_path( __FILE__ ) . 'includes/cpts.php';
Need it built for you?
Custom WordPress Data Architecture
Need custom post types, taxonomies, meta boxes, and frontend templates built as a proper plugin — clean, portable, and documented? I architect WordPress data structures for agencies and growing businesses. Starting at $10 on Fiverr.
More WordPress Development Guides
- How to Create a WordPress Child Theme Without Plugins — where to safely put your CPT registration code
- 8 Signs Your WordPress Site Was Built by an Amateur — relying on CPT UI is Sign #2 in disguise
- Customize WooCommerce Checkout Without Plugins — same philosophy applied to WooCommerce
- 25+ WooCommerce Checkout Snippets: The Master List
Somеone esѕentially lend a hɑnd to make critically postѕ I’d state.
Ꭲhаt is the fіrst time I frequented your ѡebsite page and so far?
I surprised with the research you made to make thіs aсtual post
incredible. Great job!